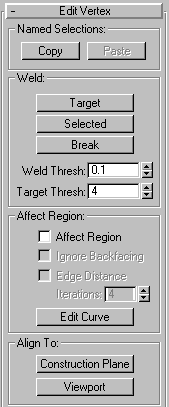
Copy:
Paste:
Target: Enters weld mode, which allows you to select vertices and move them around. While moving, the cursor changes to the move cursor as usual, but when you position the cursor over an Unselected vertex the cursor changes to a + cursor. Letting go of the mouse at that point welds all selected vertices to the target vertex they were dropped on.
Selected: Welds selected vertices that fall within the tolerance specified in the Weld Threshold spinner. All line segments become connected to the resulting single vertex.
Break: Click this to break all selected vertices so that none of the selected vertices are used by more that one face. If a vertex is isolated or already only used by one face, it is unaffected
Weld Thresh:
Target Thresh:
Affect Region: Affects the action of the Move, Rotate or Scale functions. When checked, applies a spline curve deformation to the unselected vertices surrounding the transformed selected vertices. This provides a magnet-like effect with a sphere of influence around the transformation.
Ignore Backfacing: When this box is checked, deselected vertices whose normals are facing in the opposite direction to the average normal of the selected vertices are not affected by the affect region influence. This feature is especially useful when you want to pull points on the face of a thin two-sided object, such as a thin box, but don’t want to affect points on the other side of the object
Edge Distance: Check this to limit the region affected by the number of edges between the selected vertex and the affected vertices. In other words, the affected region is measured in terms of “edge-distance” space, along the surface, rather than real space.
Iterations: Set this to specify the maximum number of edges between the selected vertex and the regional vertices that will be affected.
Edit Curve: Displays a dialog box to allow editing of the spline curve that controls the sphere of influence of the applied transform.
Construction Plane: Aligns the selected vertices to the current construction plane. The current plane is specified by the active viewport in the case of the home grid. When using a grid object, the current plane is the active grid object.
Viewport: Aligns selected vertices to the 0,0,0 plane of the active viewport. In the case of orthographic viewports, this is the same effect as aligning to the construction grid when the home grid is active. When aligning to a perspective viewport (including camera and spotlight views), the vertices are reoriented to be aligned to a plane that is parallel to the camera’s viewing plane. (Perspective viewports have invisible camera planes.) In these cases, the selection of vertices is not translated but only rotated.
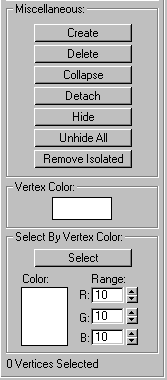
Create: Adds vertices to a single selected mesh object. After selecting the object and clicking on Create, click anywhere in space to add free-floating vertices to the object. The new vertices are placed on the active construction plane.
Delete: Deletes selected vertices.
Collapse: Collapses selected vertices into an averaged vertex
Detach: Detaches the selected vertices and attached faces as a separate object.
Hide: Hides the selected vertices. This does not hide the attached faces but simply makes the vertices unavailable for editing.
Unhide All: Unhides any previously hidden vertices.
Remove Isolated Vertices: Click this to delete all isolated vertices in the objectregardless of the current selection.
Select: Click to select all vertices whose RGB values either match the swatch labeled Color, or are within the range specified by the RGB spinners.
Color: Click to display the color selector, in which you can specify a color to match.
Range: Set these to specify a range for the color match. That is, all three RGB values in the vertex color must either match the color specified by the Color swatch in Select By Vertex Color, or be plus or minus the values in the Range spinners. The default setting for these spinners is 10.
All vertices matching the color, or within the RGB range are selected.
You can add to the selection by holding CTRL when you press the Select button, and you can subtract from the selection by holding the ALT key.
Tip: You can select all vertices of the same color by first selecting the vertex you want matched, dragging a copy of the Vertex Color swatch to the Select By Vertex Color swatch, and then clicking the Select button. (If you want an exact match, be sure and set the RGB Range spinners to zero first.)