Saving & testing animated cursors

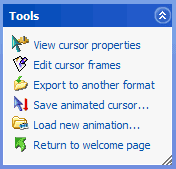
Once your animated cursor is ready to be saved, click on "Save animated cursor..." in the Tools panel and select the filename for your new animated cursor:

Note that until you click "Save animated cursor...", the animated cursor is not saved and is kept in memory. If you accidentally exit AniTuner, your changes will be lost.

Ensure that your cursors has a title and author name in the "View Cursor Properties" page. And do not forget to set the hotspot of your cursor!

You can then use your new cursor with Windows: why not customize the Windows mouse pointers?
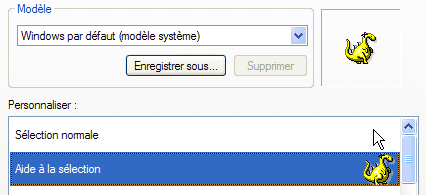
The mouse applet in the Windows control panel lets you change the cursors used during different operations (wait, no selection, etc...). Select the "Pointers" tab in the mouse applet and then highlight the pointer you want to replace. Click the "Browse" button and finally select your new animated cursor:

If your .ani files are correctly associated, you can also preview your animate cursor using Windows Explorer: just hit the new animated cursor file and select the File Properties shell menu command. Windows will then display the live animated cursor on the Properties tab.

If you want to use animated cursors in Web pages (without converting them to GIF), insert the following HTML code between the <HEAD></HEAD> tags:

<style>
<!--
BODY{ cursor:url("mycur.ani"); }
-->
</style>

where "mycur.ani" should be replaced by the URL to the .ani file.

Minimum browsers: Microsoft Internet Explorer 4+ and Netscape 6+

How to create cursor trails?

On this page you can see the great yellow dino flying near your mouse pointer.

The third-party site anicursor.com contains several useful script samples; download the Zip archive containing the necessary Javascript source and sample files. Then extract the necessary files to a folder and open the HTML page in your HTML editor.