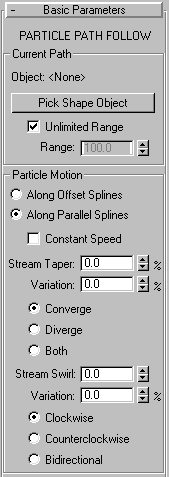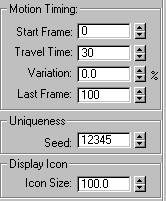


Allows you to assign a spline as a trajectory (path) for an object so that the object follows the path. As with all controllers that affect transforms, you can assign a Path controller in either the Track View or the Motion command panel. However, once assigned, only the Motion command panel lets you specify which spline will be used as the path.

Pick Path: Click and then select the spline in the scene that you want the selected object to follow.
% Along Path: Set the percent that the object is positioned along the path. This duplicates the Value spinner in the track Properties dialog for the Percent track in Track View.
If you want to set keys to place an object at a certain percent along the path, turn on the Animate button, move to the frame where you want the key set, and adjust the % Along Path spinner to move the object.
Follow: Turn on to align the object to the trajectory as it follows the contour.
Bank: Turn on to allow the object to bank (roll) as it negotiates the curves of the spline.
Bank Amount: Adjusts the amount of the banking to one side or the other, depending on whether the value is positive or negative
Smoothness: Controls how rapidly the roll angle changes as the object moves through bends in the trajectory. Smaller values will make the object more responsive to subtle changes in the curve while larger values smooth out jerking. The default value is a good value for general damping along the curve. Values below 2 tend to make the action jerky, but values around 3 can be very useful for simulating a certain degree of a certain degree of realistic instability.
Allow Upside Down: Turn on to avoid the situation in which an object flips when going around a vertically oriented path.
Constant Velocity: Turn on to provide a constant velocity along the path. When this is turned off, the velocity of the object along the path varies depending on the distance between the vertices on the path.
X, Y,Z & Flip: Only available when Follow is Selected. Specify which axis of the object will be aligned with the path. The Flip check box lets you flip the direction of the object on the path 180 degrees.
You can create a shape in Create/Shapes if one does not exist.
The End Effector on the last bone follows a circular path, the Bones rotate to follow the End Effector.