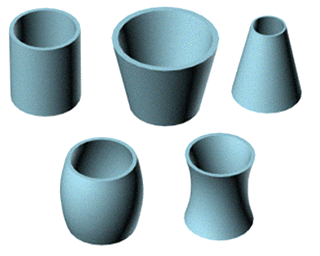


The Taper modifier produces a tapered contour by scaling one end of an objects geometry. You can control the amount and curve of the taper on two sets of axes. You can also limit the taper to a section of the geometry.

Examples of default tapers
The following procedure uses the default axis settings.
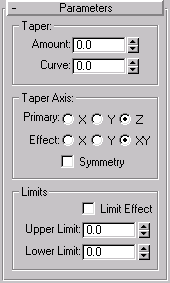
The Taper modifier provides two sets of axes and a symmetry setting in the Taper Axis area of the Parameters rollout. As with other modifiers, these axes refer to the Taper gizmo, not the object itself.
Primary: The central axis or spine of the taper, X, Y, or Z. Default=Z.
Effect:The axis, or pair of axes, indicating the direction of the taper from the primary axis. Determined by the choice of primary axis. The effect axis can be either of the two remaining axes, or their combination. If the primary axis is X, the effect axis can be Y, Z, or YZ. Default=XY.
Symmetry: When checked, produces a symmetrical taper around the primary axis. A taper is always symmetrical around the effect axis. Default=unchecked.
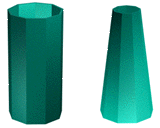
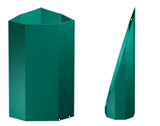
Primary axis Effect Axis
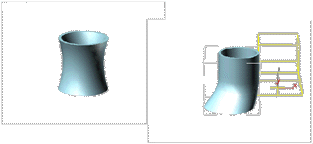
Effect of moving modifier center with limits set
The object tapers to this amount beginning at the lower limit, by default the location of the modifier’s center.
The sides curve in or out.
The taper offset is applied between these limits. The surrounding geometry, while unaffected by the taper itself, is moved to keep the object intact.
The limit settings remain on either side of the center as you move it. This lets you relocate the taper area to another part of the object.